
Over the last few years, I have been developing a range of plywood cargo bikes, in the hope they will be of some use to somebody, apart from me. After visiting the Wikihouses in Amsterdam and seeing how cargo bikes seemed to be the lifeblood of the city, I began wondering if the two concepts could be brought together somehow. If you can make plywood houses why can’t you make plywood cargo bikes, and make them so they are cheaper and simple enough for almost anybody to make? I have become convinced that cargo bikes are part of the future of urban transport, and plywood cargo bikes could play a role in making that future a reality. They can be used to take children to school, do the weekly shop, make deliveries, and tradespeople can take their tools to site. They do not use fossil fuels, they do not pollute the environment, and they are excellent for mental and physical well-being.
Design and materials
The aim has been to develop designs that can be constructed by anybody with basic woodworking skills for considerably less money than a commercial cargo bike. Plywood is cheaper and more environmentally friendly than steel, and it does not rust. All the plywood and aluminium parts are cut to shape using CNC machines, tubing can be cut to length by suppliers, and standard bicycle parts can be bought online or from cycle shops. Although some specialised hand tools are required, there is no welding or machining involved. The wooden frames and cargo container are glued together and varnished, and then everything else is bolted together. The design is licensed under Creative Commons. The CAD files and a detailed construction manual for three of the bikes can be downloaded from the links at the bottom of the page. I haven’t completed the manual for the Step Thru Cargo Bike yet, but the cutting files are available. If you are still not convinced that plywood is a suitable material, I suggest you listen to this BBC program that talks about plywood aircraft.
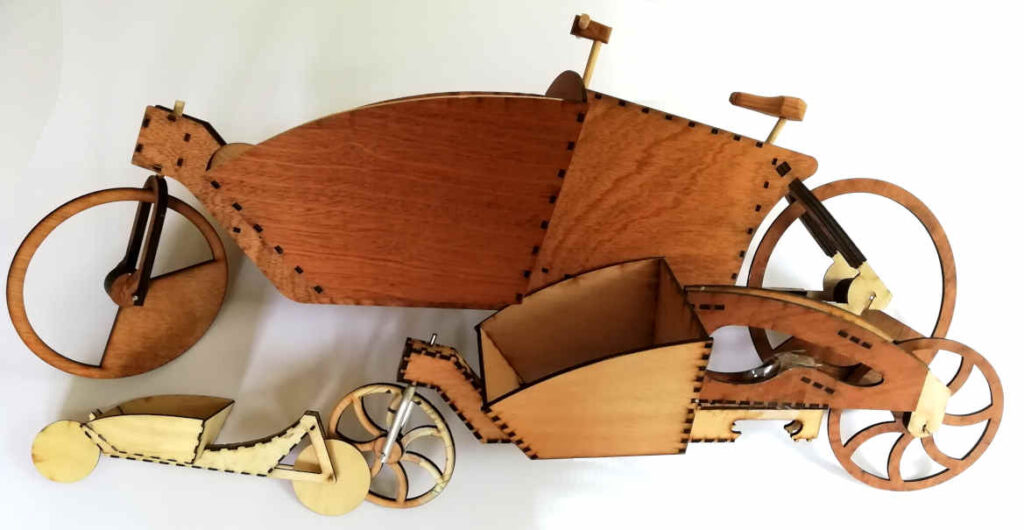
Laser cut models
As they say in Cornwall ‘Crazy ur No?’
The Cutting files
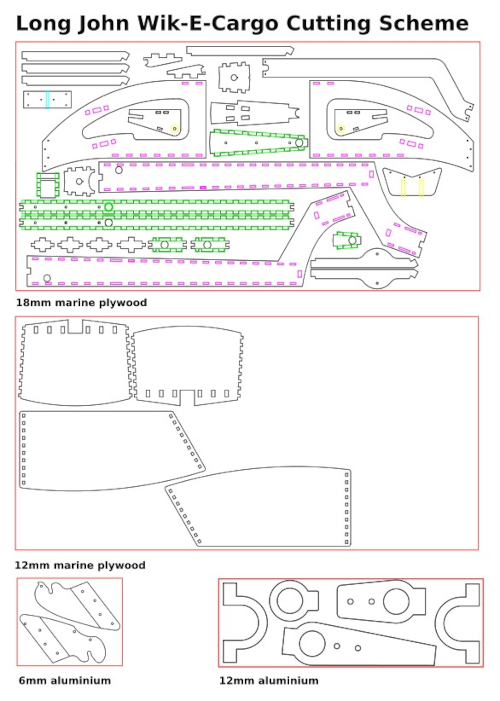
Here is an image of the cutting files to make all the plywood and aluminium parts for one of the bikes.
If you are unable to cut the parts yourself, give the dxf files for the plywood to a company with a large CNC router. If you are lucky they may be willing to cut the aluminium parts as well. If not, take the dxf cutting files for the aluminium parts to a company able to laser cut metal. Each file will be used to cut one thickness of material. The rear drop-outs will also need to be slightly bent using an hydraulic press. Most engineering workshops will have one of these.
The right hand rear drop-out has to be drilled and tapped as will the bottom steering lever, but with the right tools this is easy to do.
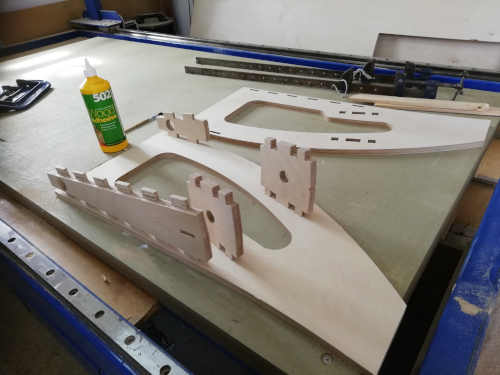
Once you have all the parts cut, check the joints fit together easily, and sand all the faces and edges nice and smooth. Then you can then glue the frames together using good quality slow cure adhesive, and some G clamps. Give the frames a final sanding all over, and then several coats of yacht varnish, and you are now be ready to assemble the rest of your bike.
Images of the construction process

The plywood parts are cut on a large flatbed CNC router, using a 4mm diameter cutter. Although this size of cutter seems a little small for cutting 18mm thick plywood, it was chosen to keep the dog bones in the corners of the joints as neat as possible. The cutter seems to be up for the task and all the drawings have the dog bones incorporated.

The Bikes
I have been riding these bikes now for a number of years and I am convinced they are safe, but I cannot afford to get them certified, therefore I am not able to sell a complete machine. I am, however, happy to cut and send out the plywood and aluminium parts for people to assemble themselves. Each design has a cutting price listed. Please contact me if you want any more information
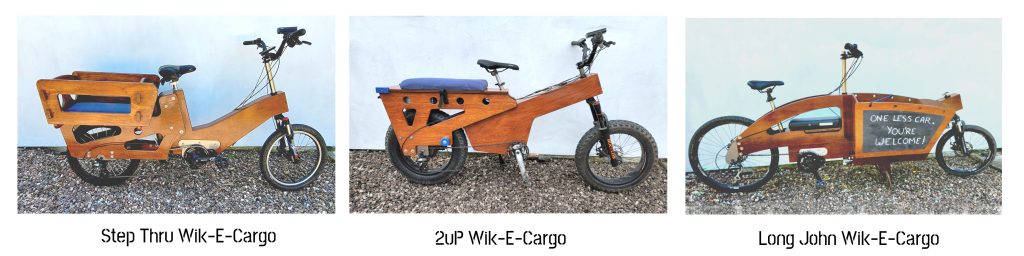
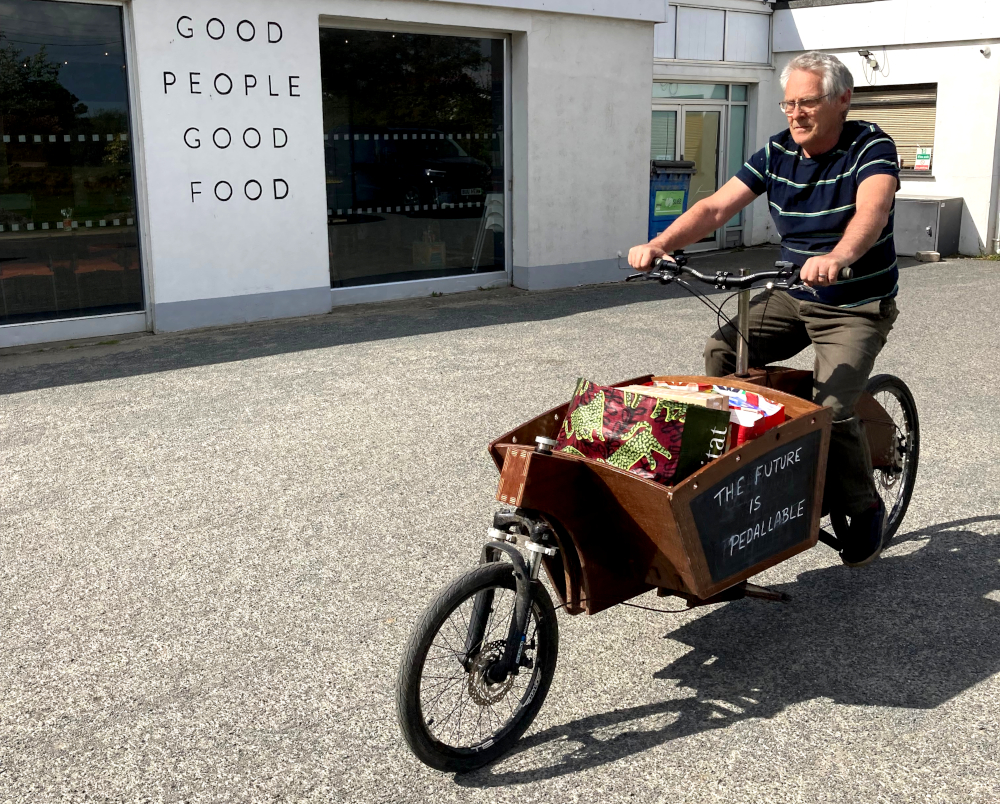
Long-John Wik-E-Cargo
This is a very traditional take an an e- cargo bike with a container on the front. The front wheel is 20″ and the rear is 26″ in diameter. The cutting files below are for cargo bikes fitted with a wheel hub motor. It is possible to add a mid frame motor but this will require two specially designed aluminium mounting plates. There are two versions of this bike in the downloads section, the short one as pictured below, and a longer one, perhaps for more commercial applications. Each download contains a detailed construction manual, all the cutting files, and a list of parts and tools required to build the bike.
Price for plywood and aluminium parts kit:
Long John #short# £650 plus shipping
Long John #short# £700 plus shipping
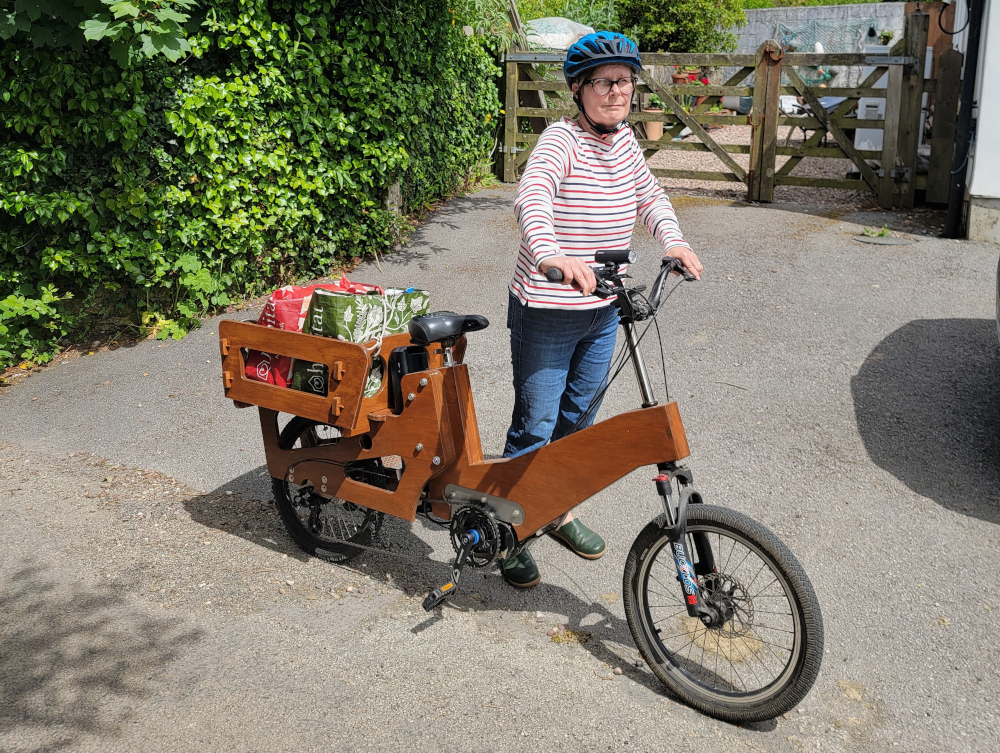
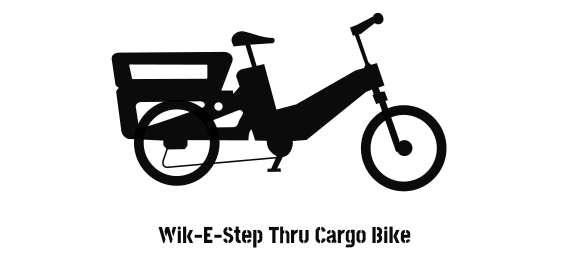
Step-Thru Wik-E-Cargo
The Step-Thru is the smallest bike in the range and has been designed to be easy to ride and to carry a reasonable load of shopping, or perhaps a small child. Both wheels are 20″ diameter and the rack at the back can be removed. The cutting file below is for a bike fitted with a wheel hub motor. It is possible to add a mid frame motor but it will require two specially designed aluminium mounting plates. A construction manual for this design will be available soon, but it will not be too dissimilar to the the 2uP.
Price for plywood and aluminium parts kit: £600 plus shipping
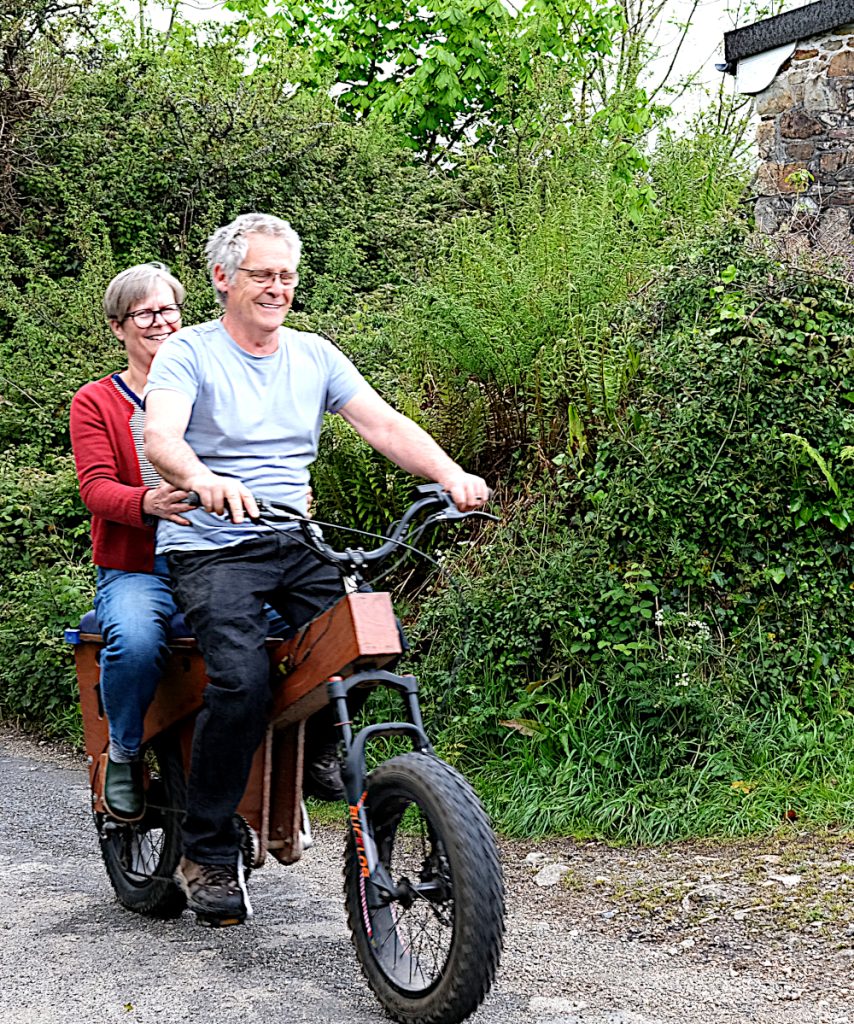
2uP Wik-E-Cargo
This bike has been developed specifically to carry a passenger, and to make cycling great again!The seat can be replaced with a panel that allows you to carry up to four panniers. Designed for two 20″ diameter fat wheels with a rear hub motor. The download below contains a detailed construction manual, all the cutting files, and a list of parts and tools required to build the bike.
Price for plywood and aluminium parts kit: £650 plus shipping
Wik-E-Bike Trailer
The trailer has been developed to carry larger, heavier loads than a cargo bike. Like the bikes it is made from plywood parts cut on a cnc router, some aluminium plate, and off-the-shelf bicycle parts. Overrun brakes are part of the design, and it will need a small bicycle ball hitch attached to the seat post. The download below contains a set of detailed construction drawings. as well as the all the required cutting files.
Download the plans
The dxf files given here are free to download and use, but be warned there will be errors. Double check everything before cutting any plywood or riding any roads. To view or edit the files you can use LibreCad, a free, open source CAD program, available from here: https://librecad.org/.
If you use any of the files and make a machine, please share photos. If you have any comments or make any improvements, I would love to hear from you. I have made these files freely available. I am not asking for any kind of registration before you click the download button, but I would love it if you could leave an email address so that I can contact you with any updates.
Interested in a Build a Cargo Bike Course?
We’re exploring the possibility of running a cargo bike-building course. If you’d like to learn how to make one—or share your thoughts—get in touch!
Britt Klews
thank you. this will be used to help a young woman in namibia make cargo bikes in her disadvantaged community
aaron.moore
Hi Britt
This is brilliant. Thank you for letting me know. If you can please keep me posted on progress, and if there is any way I can help with adapting the design so it can be made where you are I would be delighted.
Helberth
Gostei de saber disso